THE ULTIMATE GUIDE: HOW TO CARVE YOUR IBÉRICO HAM
We would be lying if we said the carving process is a simple one. It requires some
knowledge and a bit of reading. Heck, there are folks in Spain, called ham masters, who dedicate their lives to the art of carving Ibérico Ham. So we've harnessed their carving wisdom and are a giving you an in-depth look at carving up a Ham on your own. We promise it's possible you can do it!. With these detailed steps and videos, you'll feel prepared and confident when that Ham, proudly arrives at your doorstep. Now, let's get carving.
*Note: In this video we carved up a Ham weighing around 21 lbs.
Depending on the size of your Ham, you will end up with a different yield, or total amount of meat from the leg
STEP 1: PREP THE HAM
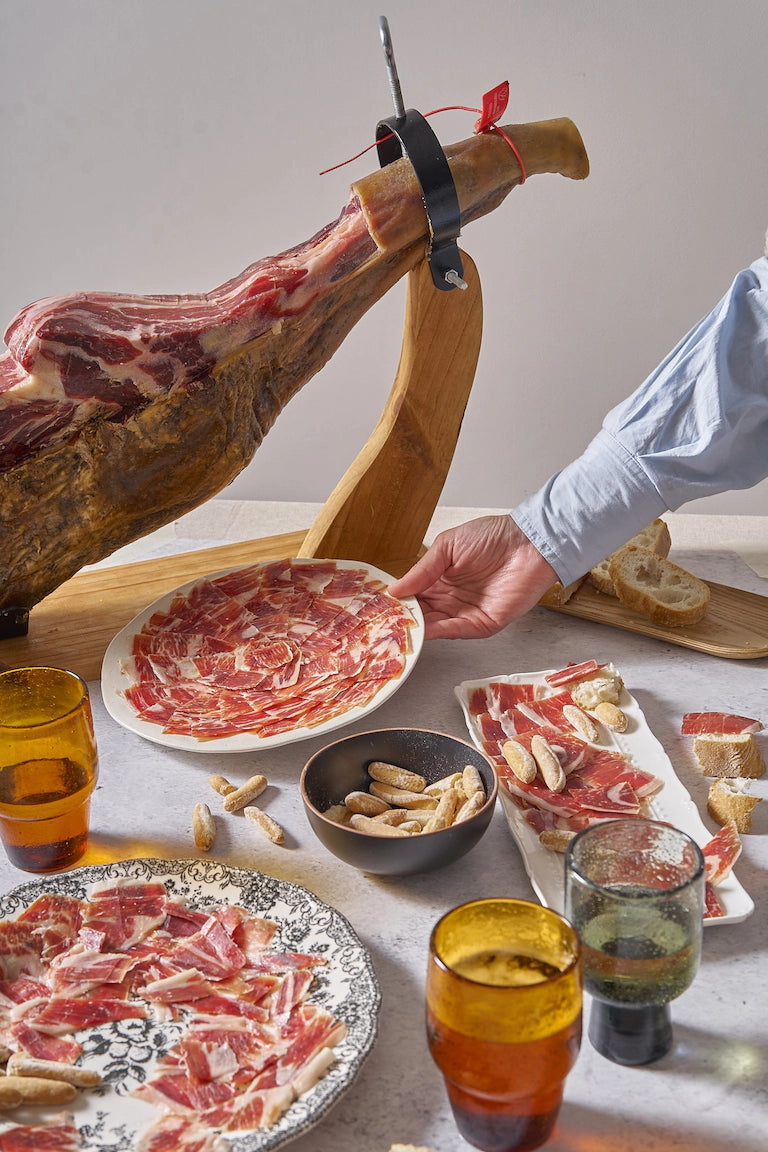
- Carefully remove the Ham from the plastic just as you would any other vacuum-sealed packaging. Keep in mind there will be juices in the bag so do your best to keep them inside the package and maintain a clean work area.
- Place the Maza facing up, starting with the more tender meat.
There are 4 main parts or sections of an Ibérico Ham Leg.
Maza: This is the widest and juiciest part of the ham, running from the Corvejon to the hip bone. It contains the most meat and is the most tender with the best fat marbling, making it. Ideal for obtaining longer and tastier slices.
Punta: Find the Punta at the end closest to the hip bone, opposite the hoof. Cut small portions from this area, which is fattier and has a strong flavor. Experts say it's the most prized part because, when the cured ham is hanging, all the fat accumulates there, resulting in more intense aromas and flavors. You can cut smaller pieces to enjoy as tapas or appetizers.
Babilla: Located at the top of the ham – it is the narrowest part since it’s , closer to the hip bone.It is leaner and less juicy, but with a very rich flavor.

STEP 2: GRAB YOUR BLADES
You'll need a few things to properly carve the Ham:
- Strong butcher's knife: this is ideal for cleaning and removing tougher areas.
- Boning style knife: a knife of similar length as the first, with a narrower blade, great for carving around thin bones.
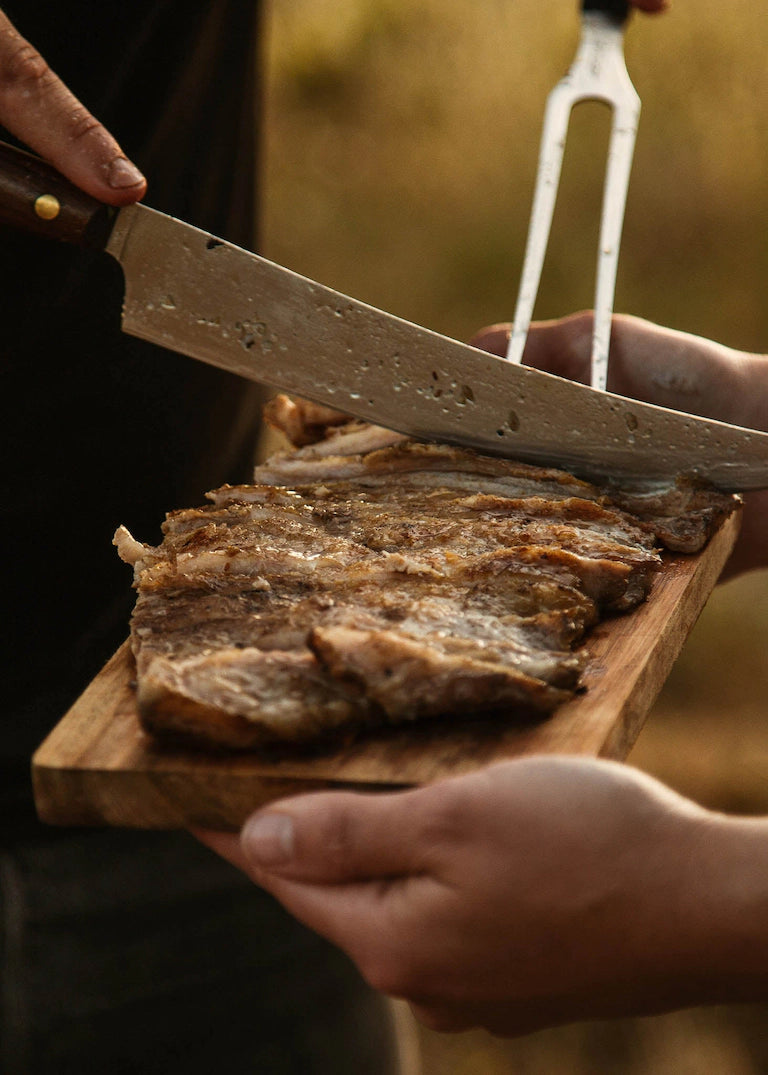
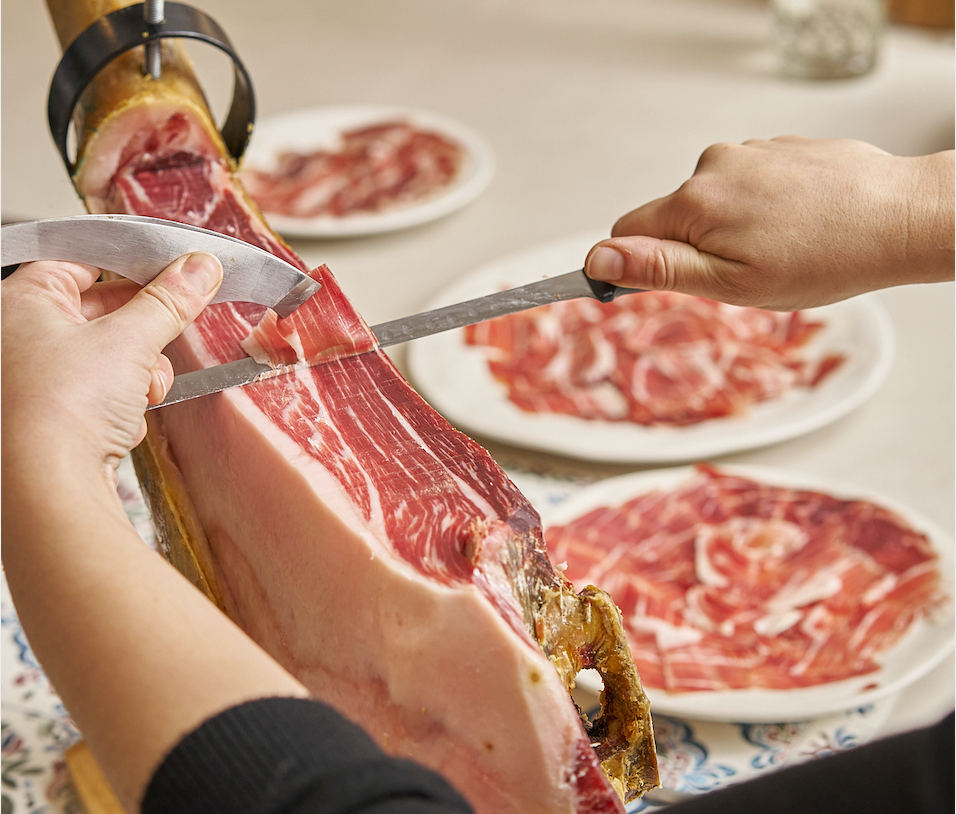
- Stainless-steel carving knife: this is the most important and is specifically used for carving those luxuriously thin Jamón and Paleta slices.
- Remember to always, I repeat, always keep your hand behind the sharp side of the knife when holding the ham!
PRO TIP: Keep your knives sharp! If you haven't sharpened your knives in while, now is definitely the time. A dull knife is likely to shred the Ham rather than carve it.
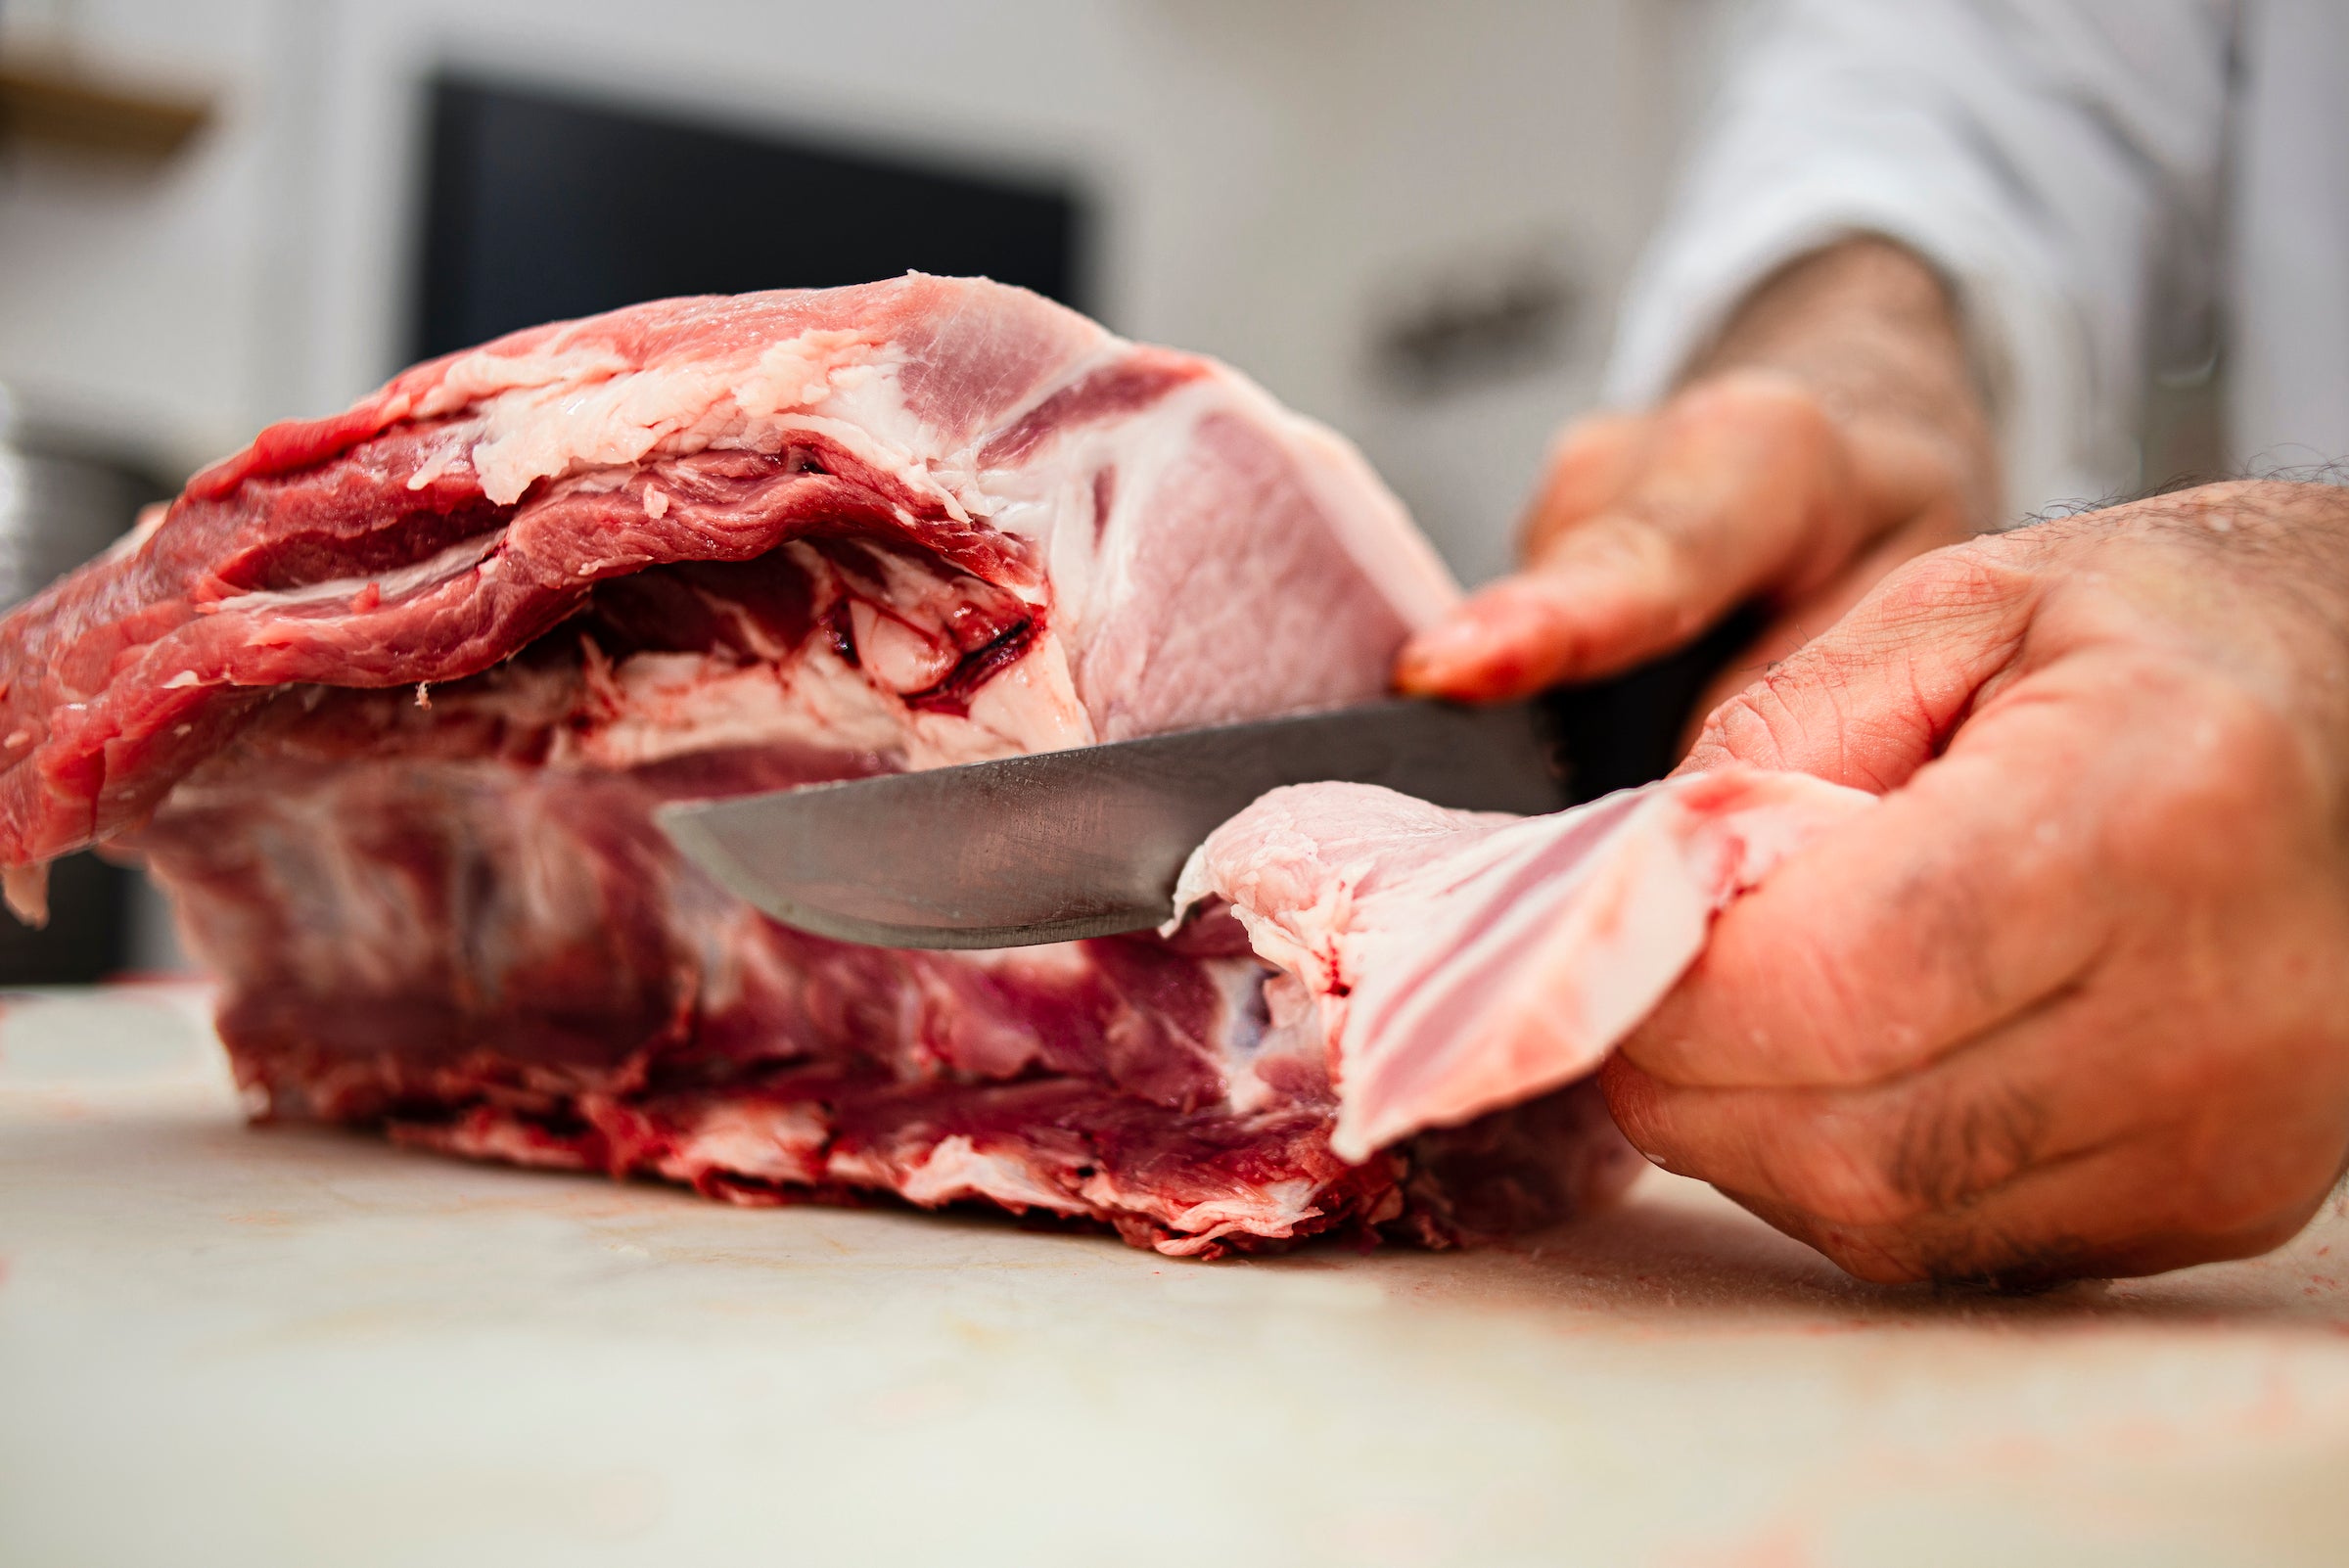
STEP 3: CLEAN THE HAM
The first step in carving is what's called "cleaning" the Ham. You are essentially
removing the outer tough skin and protective fat, as well as the yellow fat to get down to the good stuff. This step will require much more force that the delicate cuts of meat.
NOTE: Before you start cutting away, keep in mind that you only want to carve the part you intend to eat over the next day or two. If you're planning on carving up the whole thing for a crowd, go ham (pun intended) and remove all the skin.
- Grab your strong butcher's knife.
- Locate the Corvejon bone, which is easy to identify with the Maza facing up, because you will see a protrusion near the hoof. Two fingers' distance below the Corvejon bone, make a crosswise incision until you arrive at the bone. This area is tough and fibrous, so don't be afraid if it takes a little elbow grease to make the incision.
- From the incision, ,start to cut towards (keep the knife as horizontal as possible). Use the boning knife to remove the outer layer of skin and all the yellow fat, which can have a bad flavor.
- The white fat is delicious and should be included with the meat in each slice for the best taste experience. NO FAT NO FLAVOR!
- Just clean the part of the ham you plan to eat to prevent it from drying out.
PRO TIP: Reserve those larger pieces of skin and fat you carved away, and use them between cutting sessions as a protective cap. This will minimize air oxygen exposure and keep the meat and fat moist to help it last longer.
PRO TIP: As you slice, try to keep the knife as horizontal as possible so the slices stay extra thin.
PRO TIP: A good trick to know if the slice is perfect is that you should be able to see the knife through it. Aim for slices that are not too large, approximately 1-2 inches.
STEP 4: SLICE THE MAZA
The Maza side should be facing up. As you start to slice the Maza, you will notice this part is juicer than the contramaza, with more intramuscular fat.
- We will clean only the area we plan to consume to prevent the ham from drying out. Although we are removing the outer layer and the yellow fat, the white fat is delicious and should be included in each slice for the best tasting experience.
- We will cut the ham from the highest part down in a straight line, always in the opposite direction of the hoof.
- The first challenge will be the hip bone, which is the first bone we will encounter. For this, we will make an incision all around it to mark it, allowing us to continue cutting without losing any ham, and the slices will come off easily. Continue this way as you cut.
- Remember to keep your knife sharp at all times!
- The second bone we will encounter is the fibula. We will do the same as with the hip bone, marking it on both sides so the slices come off better from the Jarrete.
- As we progress in our cutting, we will encounter the ball of the femur. We will make an incision downward, enabling us to maintain a straight cut at all times.
- The last challenge in this cut will be the head of the femur. We will make the same incision around this bone as we did around the hip bone and the ball of the femur.
- When you encounter the femur bone at the top, turn the ham. Do not attempt to cut the ham around the femur; we will do that more easily later.
STEP 5: SLICE THE BABILLA
- Turn the ham over 360 degrees facing the Babilla up and clean it just like the Maza, cleaning only the part we plan to consume at each moment.
- Here, the hip bone will be in the way, so we will proceed as we did with the Maza: making an incision all around the bone to proceed with cutting.
- Next, we will encounter the pallet bone, and we will make an incision as we did when cutting the Maza with the ball of the femur, to continue cutting.
- We will know we have finished with the Babilla when we reach the femur bone.
STEP 6: THE THIRD CUT
- We will turn the ham bone by placing the hoof sideways, with the fat facing up.
- Proceed to cut just like the Maza and Babilla, marking the bones around to make cutting easier.
- First, we will mark all around the hip bone and cut almost vertically until reaching the head of the femur.
- Next, we will continue cutting between the head of the femur and the ball of the femur.
- Turn it 180 degrees and cut the remaining lean meat. Once all the main meat is cut, we will finish this third cut upon reaching the meat of the Codillo.
- Proceed to remove the meat from the Codillo. Here we will need to separate the tibia and fibula bones to extract all the meat from the Jarrete. This meat is great for slicing or making into cubes.
STEP 7: MAKE TAQUITOS
Using a knife or a good chef's knife, cut the large pieces into a very small dice. Many of these meaty chunks come from areas closer to the bone and are phenomenal additions to soups, croquettes, pasta, and vegetables. Even the bones are excellent for adding flavor to your broths and stews. With Ham, everything is utilized!
CONSERVING AN OPENED HAM:
First, brush olive oil on the cut surface of the ham. This creates a layer that protects it from the outside. Place a cloth on top; this insulates it from air and light, avoiding the development of mold. Keep it in a dry place without humidity. If you use plastic wrap, it is more likely to develop mold. Remember, ham is not a piece of furniture!—you have to eat a small plate of it every day for breakfast or Dinner!